Setting up Camera.UI on Docker for Windows
Overview
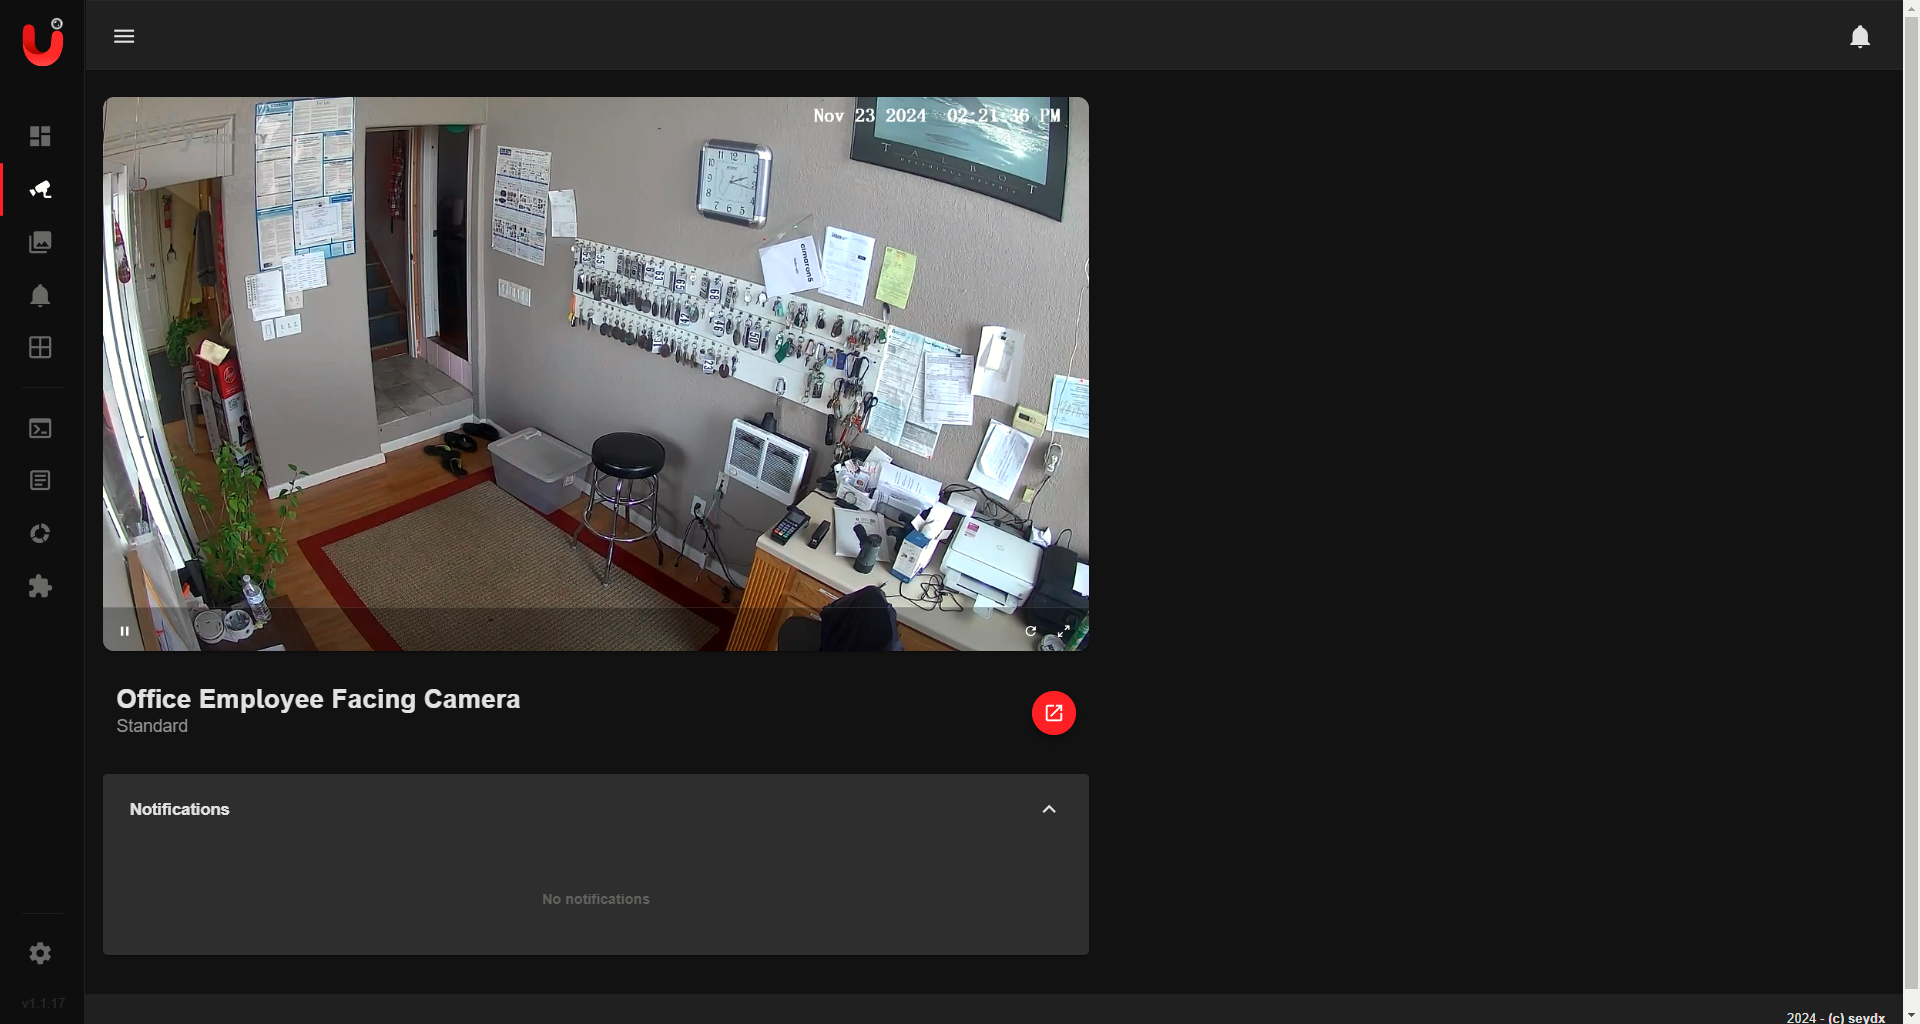
This guide outlines the process for setting up Camera.UI on Docker for Windows. Camera.UI is a versatile NVR-like Progressive Web App (PWA) designed to manage RTSP-capable cameras. With features like live streams, motion detection, and notifications, it provides a robust solution for home automation and monitoring.
Prerequisites
Before proceeding, ensure the following prerequisites are met:
- Docker Desktop is installed and running on your Windows system.
- Your RTSP-capable cameras are configured and accessible.
- Basic familiarity with Docker commands.
- Internet connectivity for pulling Docker images.
Setup Steps
Step 1: Pull the Camera.UI Docker Image
- Open Command Prompt or PowerShell.
- Pull the Docker image for Camera.UI:
docker pull camera.ui-linux
Step 2: Run the Container
Run the Camera.UI container using the following command:
docker run -d -p 8081:8081 --name camera-ui --restart unless-stopped camera.ui-linux
-d: Runs the container in detached mode.
- -p 8081:8081: Maps the container’s port 8081 to the host’s port 8081.
- --name camera-ui: Names the container camera-ui.
- --restart unless-stopped: Ensures the container restarts on system reboot or Docker daemon restarts.
Step 3: Access the Web Interface
- Open your browser and go to:
http://localhost:8081 - Log in with the default credentials:
- Username:
master - Password:
master - Change your username and password immediately for security.
Step 4: Configure Camera.UI
- After logging in, go to the settings panel.
- Add your RTSP-capable cameras:
- Provide the RTSP stream URL for each camera.
- Configure additional settings like motion detection, zones, or notifications.
Step 5: Verify Restart Policy (Optional)
To ensure the container is set to restart automatically, verify the restart policy: 1. Run:
docker inspect camera-ui | findstr RestartPolicy
Select-String instead of findstr).
2. Ensure the output includes:
"RestartPolicy": {
    "Name": "unless-stopped",
    "MaximumRetryCount": 0
}
Managing the Container
Start and Stop
- Start the container:
docker start camera-ui - Stop the container:
docker stop camera-ui
View Logs
- To view the container logs:
docker logs camera-ui
Remove the Container
If you ever need to remove the container without losing your data, make sure your container's data is mapped to a persistent volume. Otherwise, you can remove the container with:
docker rm -f camera-ui
Step 6: Update the Container
If a new version of Camera.UI is released, update the container as follows: 1. Stop and remove the existing container:
docker stop camera-ui
docker rm camera-ui
docker pull camera.ui-linux
docker run -d -p 8081:8081 --name camera-ui --restart unless-stopped camera.ui-linux
Troubleshooting
Common Issues
-
Port Conflict: If port
8081is already in use, choose another port:Access it viadocker run -d -p 8082:8081 --name camera-ui --restart unless-stopped camera.ui-linuxhttp://localhost:8082. -
Logs Not Showing: Use:
docker logs camera-ui -
Web Interface Not Accessible: Ensure Docker Desktop is running and your firewall isn't blocking port
8081.
Error: spawn ffmpeg ENOENT
If you encounter an error related to ffmpeg:
1. Update the Dockerfile to install ffmpeg:
RUN apt-get update && apt-get install -y \
    curl \
    build-essential \
    nodejs \
    npm \
    ffmpeg \
    && apt-get clean
Dockerfile for Camera.UI
# Use a lightweight Debian base image
FROM debian:latest

# Set environment variables
ENV NODE_ENV=production
ENV NPM_CONFIG_PREFIX=/home/camerauser/.npm-global
ENV PATH=$PATH:/home/camerauser/.npm-global/bin

# Update and install necessary packages
RUN apt-get update && apt-get install -y \
    curl \
    build-essential \
    nodejs \
    npm \
    ffmpeg \
    && apt-get clean

# Install the correct Node.js version (20.x)
RUN curl -fsSL https://deb.nodesource.com/setup_20.x | bash - \
    && apt-get install -y nodejs

# Update npm to the latest version
RUN npm install -g npm@10.9.1

# Create a non-root user for security
RUN useradd -ms /bin/bash camerauser

# Install the camera.ui package globally
RUN npm install -g camera.ui@latest --unsafe-perm

# Set up directories and permissions for camera.ui
RUN mkdir -p /home/camerauser/.npm-global /home/camerauser/.camera.ui && \
    chmod 700 /home/camerauser/.camera.ui && \
    chown -R camerauser:camerauser /home/camerauser

# Set the working directory
WORKDIR /home/camerauser

# Expose the port for camera.ui
EXPOSE 8081

# Command to start camera.ui
CMD ["camera.ui", "--no-sudo", "--storage-path", "/home/camerauser/.camera.ui"]