Setting Up RuneLite for Building with IntelliJ IDEA
Setting up RuneLite for building with IntelliJ IDEA involves several steps. Here's a step-by-step guide to get you started:
Getting Started
-
Download and Install IntelliJ IDEA: If you haven't already, download and install IntelliJ IDEA. The Community Edition is free and sufficient for RuneLite development.
-
Install JDK 11: RuneLite is built using JDK 11. You can install this JDK version through IntelliJ IDEA itself by selecting the Eclipse Temurin (AdoptOpenJDK HotSpot) version 11 during the setup.
Importing the Project
-
Clone RuneLite Repository: Open IntelliJ IDEA and select
Check out from Version Control>Git. Then, in the URL field, enter RuneLite's repository URL:https://github.com/runelite/runelite. If you plan to contribute, fork the repository on GitHub and clone your fork instead. -
Open the Project: After cloning, IntelliJ IDEA will ask if you want to open the project. Confirm by clicking
Yes.
Installing Lombok
- Install Lombok Plugin: RuneLite uses Lombok, which requires a plugin in IntelliJ IDEA.
- Go to
File>Settings(on macOSIntelliJ IDEA>Preferences) >Plugins. - In the Marketplace tab, search for
Lombokand install the plugin. - Restart IntelliJ IDEA after installation.
Building the Project
- Build with Maven: RuneLite uses Maven for dependency management and building.
- Locate the
Maventab on the right side of IntelliJ IDEA. - Expand the
RuneLite (root)project, navigate toLifecycle, and double-clickinstall. - After building, click the refresh icon in the Maven tab to ensure IntelliJ IDEA picks up the changes.
Running the Project
- Run RuneLite:
- In the
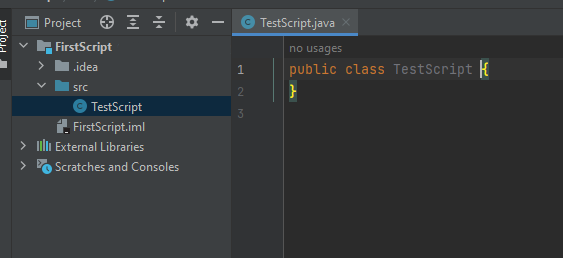
Projecttab on the left, navigate torunelite -> runelite-client -> src -> main -> java -> net -> runelite -> client. - Right-click the
RuneLiteclass and selectRun 'RuneLite.main()'.
Conclusion
You've now set up and run RuneLite using IntelliJ IDEA! If you encounter any issues, consult the Troubleshooting section of the RuneLite wiki for common solutions. Remember to keep both your JDK and IntelliJ IDEA up to date to avoid potential issues.
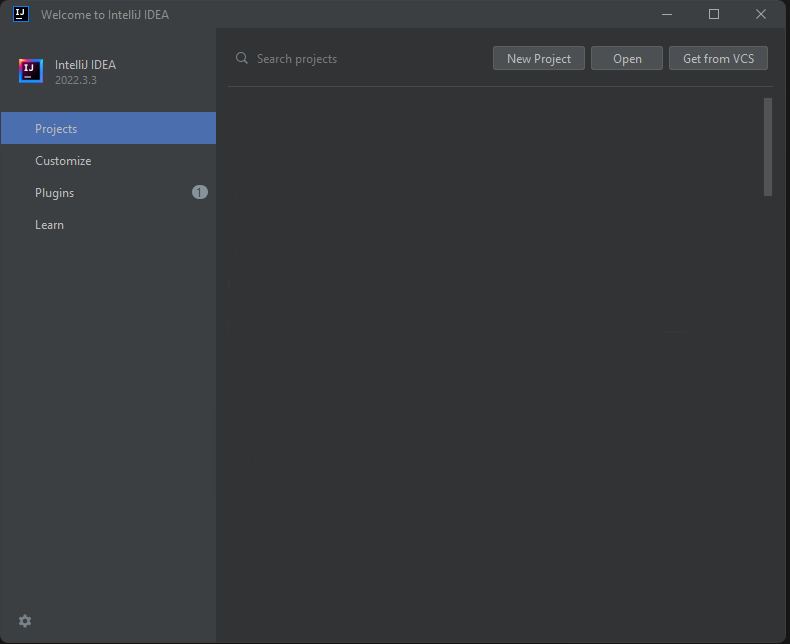 1. Open IntelliJ IDEA.
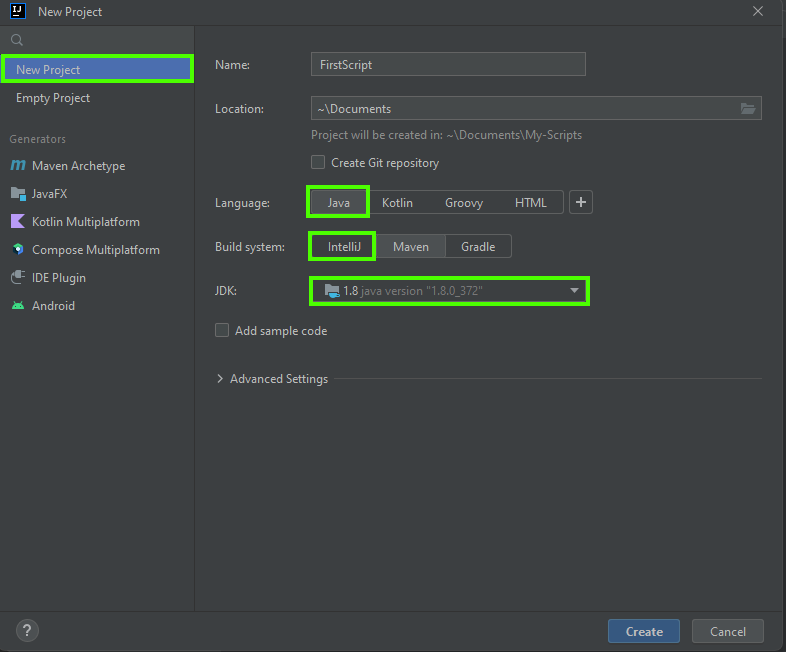
2. Click New Project.
3. Select Java, with IntelliJ as the build system.
4. Choose the JDK you downloaded earlier.
5. Name your script and set the project's save location.
6. Click Create.
1. Open IntelliJ IDEA.
2. Click New Project.
3. Select Java, with IntelliJ as the build system.
4. Choose the JDK you downloaded earlier.
5. Name your script and set the project's save location.
6. Click Create.